Overview
OzLINK can change the return address based on the customer in a QuickBooks transaction. This is most often useful when dropshipping. In a dropshipping situation, QuickBooks is typically set up such that a single customer represents a manufacturer. That customer then has many ship-to addresses representing the people actually receiving the product. Many manufacturers would like their own name, phone number, or other details appearing in the return address rather than the name of the warehouse. OzLINK can accomplish those goals using this setup screen.
First, set up your default return address as you usually would - using your warehouse or shipping department details. Then set up additional return addresses for each of your customers, filling in only the information that is different from your default. OzLINK will automatically fill in the blank areas with values from your default return address. For instance, you may only change the company name and phone number for a particular customer, resulting in a return address showing the new name and phone number but your own address.
The custom return addresses you set up here are used every time OzLINK processes a transaction from that customer.
NOTE: To access this window, first open the Settings menu in OzLINK for UPS, then click Shipping. Make sure a version of QuickBooks Online is selected as your information source. Click Configure Business Rules. In the new settings window that opens, click the Advanced menu, then click Return Address.
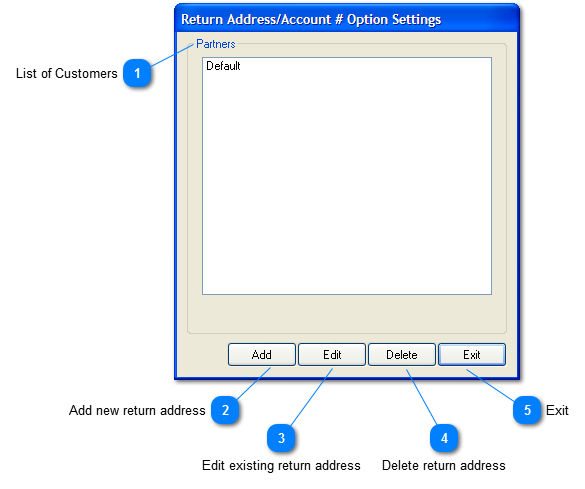
 List of Customers
A list of the current customers configured to use return addresses or carrier billing account numbers. Customer names must match the customer names in QuickBooks.
|
|
 Add new return address
Click the Add button to add a new return address listing. A new window will appear so you can provide the necessary information. For more details, see: Edit Partner |
|
 Edit existing return address
Edit a return address listing by clicking on it in the list, then clicking the Edit button. For more details, see: Edit Partner |
|
 Delete return address
Delete a return address by selecting it from the list and clicking the Delete button. You will be asked to confirm the action. This cannot be undone.
|
|
 Exit
Click the Exit button to close the Return Address window. All changes have already been saved automatically.
|
|